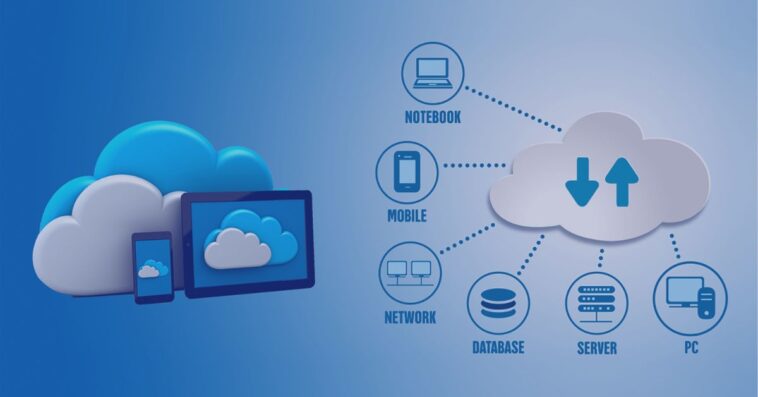
Tired of trusting your personal photos, sensitive documents, and private data to giant tech corporations? What if you could have the convenience of services like Dropbox or Google Drive, but with complete control, enhanced privacy, and no monthly fees? This isn’t a distant dream—it’s the reality of hosting your own personal cloud server.
This comprehensive guide will walk you through how to create your very own personal cloud server using Nextcloud, a powerful, open-source platform that puts you in the driver’s seat of your digital life. We’ll demystify the process, from the initial setup to crucial security steps, empowering you to reclaim your online privacy.
Read more about Never Lose a File Again: Automate Your Documents with Cloud Storage Backup
Why Build a Personal Cloud Server? The Nextcloud Advantage
Before we dive into the technical steps, it’s important to understand the “why.” A self-hosted personal cloud server offers significant benefits over commercial cloud services:
- Total Control and Privacy: Your data resides on a hardware you own or control. Nextcloud doesn’t mine your data for advertising; it’s yours, plain and simple.
- No Subscription Fees: While there’s an initial cost for hardware (if you choose to host it yourself), you eliminate ongoing monthly payments for storage space.
- Feature-Rich Platform: Nextcloud is far more than just file sync. It includes built-in tools for photo galleries, document collaboration, calendar and contact management, video conferencing, and more through its app ecosystem.
- Customization: You can extend your server’s functionality with hundreds of free apps from the Nextcloud app store, tailoring it to your exact needs.
What You’ll Need: Prerequisites for Your DIY Cloud
You don’t need to be a system administrator to set this up, but you should be comfortable with basic technical concepts. Here’s what you need to get started:
- A Server: This can be a physical machine (an old computer, a Raspberry Pi 4/5, or a dedicated mini-PC) or a Virtual Private Server (VPS) from a provider like DigitalOcean, Linode, or Vultr. A VPS is often easier for beginners.
- An Operating System: We’ll use a Linux distribution, specifically Ubuntu Server 22.04 LTS, for its stability and extensive community support.
- A Domain Name: You don’t strictly need a .com, but you need a way to connect to your server. You can use a free Dynamic DNS service (like DuckDNS or No-IP) if you’re hosting at home, or a custom domain pointed to your VPS.
- Basic Comfort with the Command Line: We’ll use the terminal for some steps, but we’ll provide the exact commands to run.
Your Step-by-Step Guide to Installing Nextcloud
We will be using the “Snap” method for installation. Snaps are containerized software packages that are incredibly easy to install and manage, as they bundle all dependencies. This is the most straightforward path for a new user.
Phase 1: Server Preparation and Security
First, we need to ensure your server is secure and up-to-date.
- Log in to Your Server: Connect to your Ubuntu server via SSH.bashssh username@your_server_ip
- Update the System: Always ensure your system has the latest security patches.bashsudo apt update && sudo apt upgrade -y
- Configure a Firewall: Ubuntu comes with a built-in firewall called UFW (Uncomplicated Firewall). We need to allow SSH and web traffic.bashsudo ufw allow OpenSSH sudo ufw allow 80,443/tcp sudo ufw enable
Phase 2: Installing Nextcloud with Snap
This is the simplest part, thanks to snaps.
- Install the Snap: Run a single command to install Nextcloud.bashsudo snap install nextcloudThe snap service will handle everything, including the web server (Apache) and database (SQLite).
- Claim Your Installation: You need to set up an admin account. Replace
your_desired_usernameandyour_secure_passwordwith your own.bashsudo nextcloud.manual-install your_desired_username your_secure_password - Add Your Domain: Tell Nextcloud which domain or IP address to trust.bashsudo nextcloud.occ config:system:set trusted_domains 1 –value=your-domain.com(If you’re using an IP address, replace
your-domain.comwith your IP.)
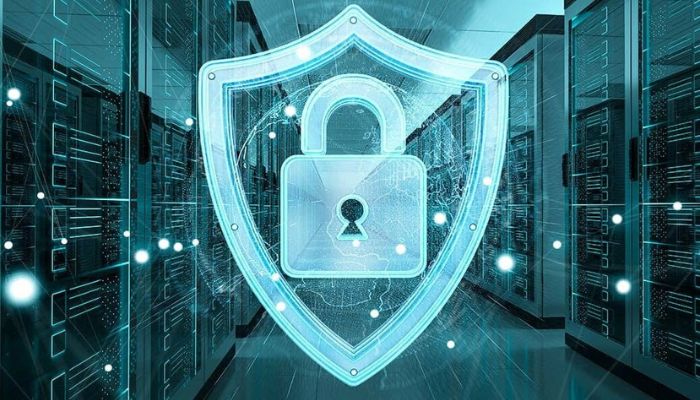
Phase 3: Enabling SSL with Let’s Encrypt
For a secure personal cloud server, you must encrypt data in transit. Let’s Encrypt provides free SSL certificates.
- Enable the HTTPS Port: Reconfigure your firewall to allow the Let’s Encrypt validation.bashsudo nextcloud.enable-https lets-encrypt
- Follow the Prompts: You will be asked for an email address (for expiry notices) and your domain name. The script will automatically obtain and install the certificate.
Configuring and Securing Your New Personal Cloud Server
The hard part is over! Now, point your web browser to https://your-domain.com. You should see the Nextcloud login page. Log in with the admin account you created.
Essential Next Steps for a Robust System

- Create User Accounts: Don’t use the admin account for daily tasks. Go to the top-right menu -> Users, and create a standard user for yourself and family members.
- Install the Desktop and Mobile Apps: Download the Nextcloud sync client for your Windows, Mac, or Linux computer. For your phone, get the Nextcloud app from the Apple App Store or Google Play Store. This is where the magic happens—seamless file synchronization, just like any other cloud service.
- Explore Apps: Click on your profile picture in the top-right and select “Apps.” Here you can install and enable additional features like Calendar, Contacts, Notes, and Password Manager to turn your basic file server into a complete private productivity platform.
Maintaining Your Personal Cloud Fortress
Owning your data comes with the responsibility of maintaining it. Here are key best practices:
- Enable Automatic Updates: The Snap installation will automatically update Nextcloud, but ensure your underlying Ubuntu system is also kept updated.
- Perform Regular Backups: Your personal cloud server now contains critical data. You must back up both the Nextcloud data directory and the database. A simple script to compress these and copy them to an external drive or another cloud service is essential.
- Monitor Your Storage: Keep an eye on your server’s disk space as you add files and users.
Conclusion: You Are Now in Control
Congratulations! You have successfully built your own personal cloud server. You are no longer a tenant in someone else’s digital ecosystem; you are the landlord. You’ve gained unparalleled privacy, freedom from subscription models, and a powerful, customizable platform that will serve you for years to come.
The journey from a consumer of cloud services to the owner of a personal cloud server is incredibly rewarding. With Nextcloud, you have a tool that rivals and often exceeds the capabilities of commercial offerings, all while ensuring your data remains truly yours.


GIPHY App Key not set. Please check settings